Your First Recording
Learn how to record your first patient consultation
Recording Your First Consultation
ROSC.ai makes it incredibly simple to capture patient consultations. This tutorial will walk you through making your first recording and understanding how the AI processes your conversation.
Before You Start
- Ensure you have a stable internet connection
- Check that your device's microphone is working
- Grant microphone permissions to the ROSC app
- Inform your patient that you'll be using AI documentation
Step-by-Step Instructions
- 1
Open the ROSC app on your device
Launch the ROSC mobile app or access the web interface. Make sure you're logged into your account.
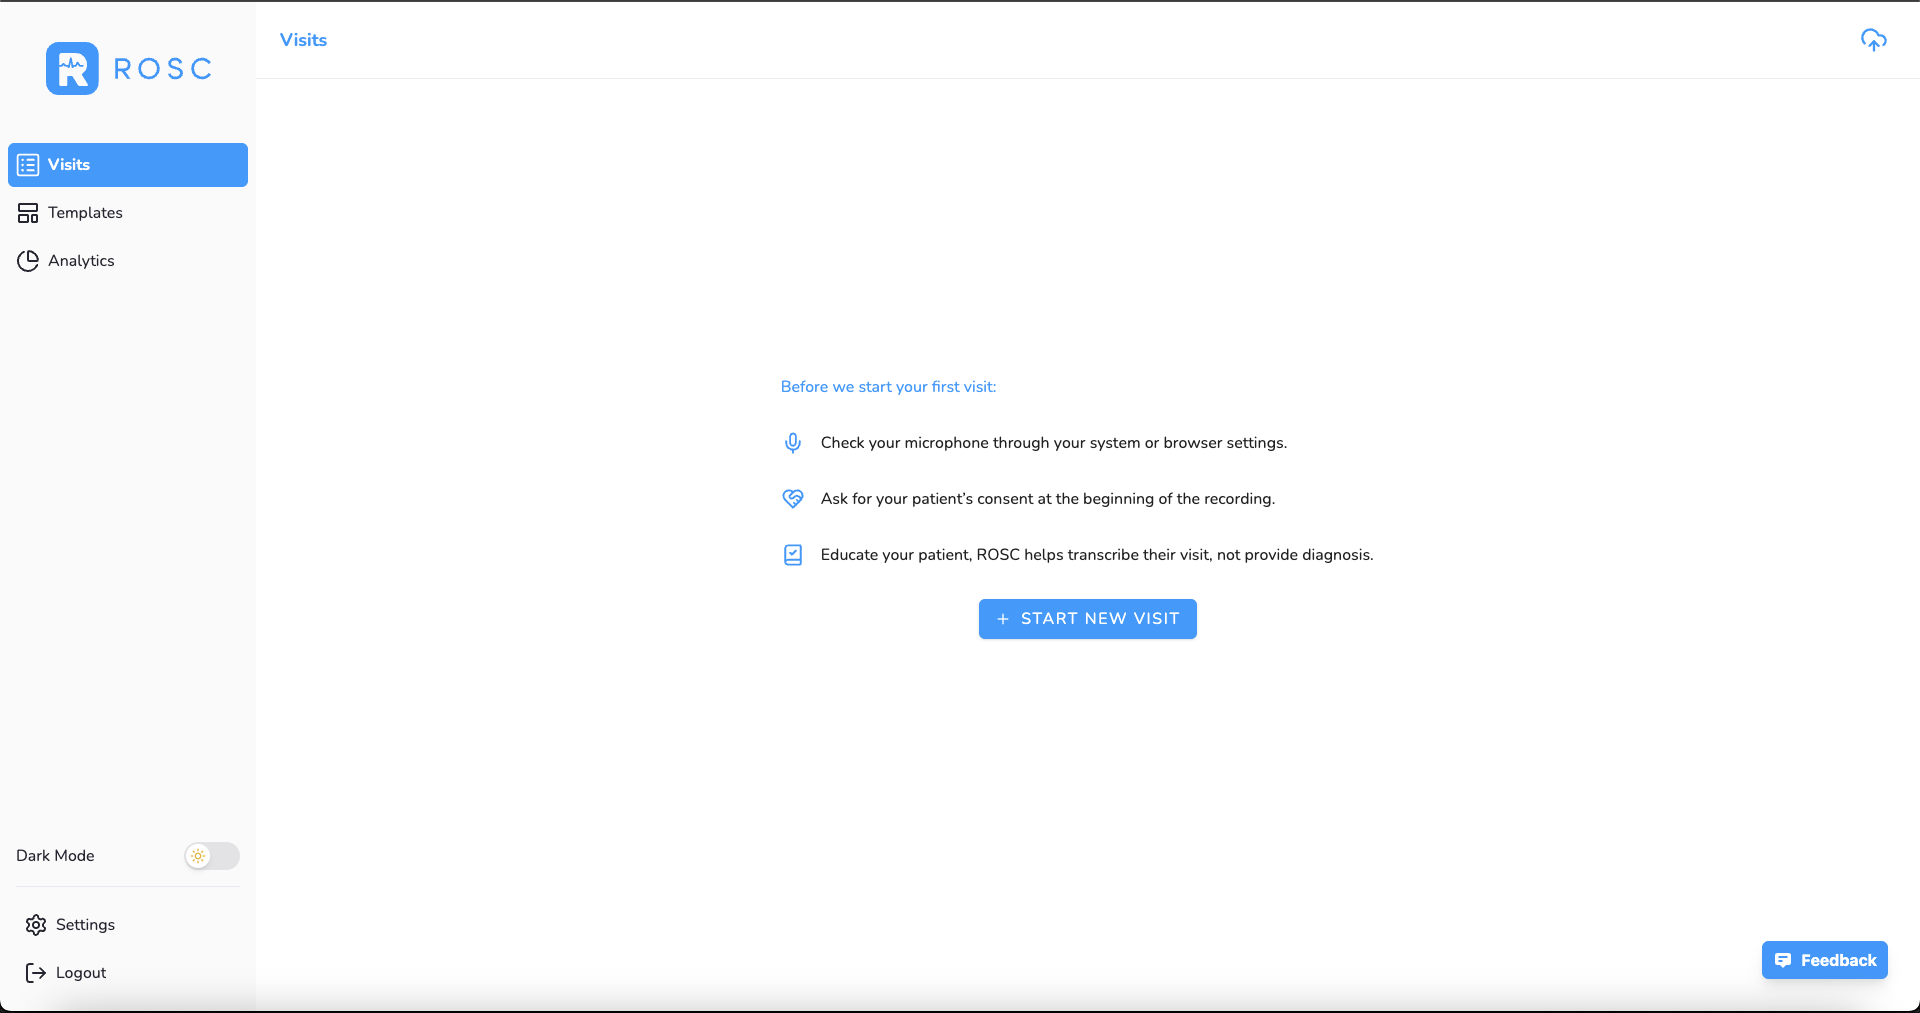
- 2
Tap the 'New Recording' button
You'll see a prominent recording button on the main screen. Tap it to begin capturing your consultation. The app will request microphone permissions if needed, and the input language is automatically detected.
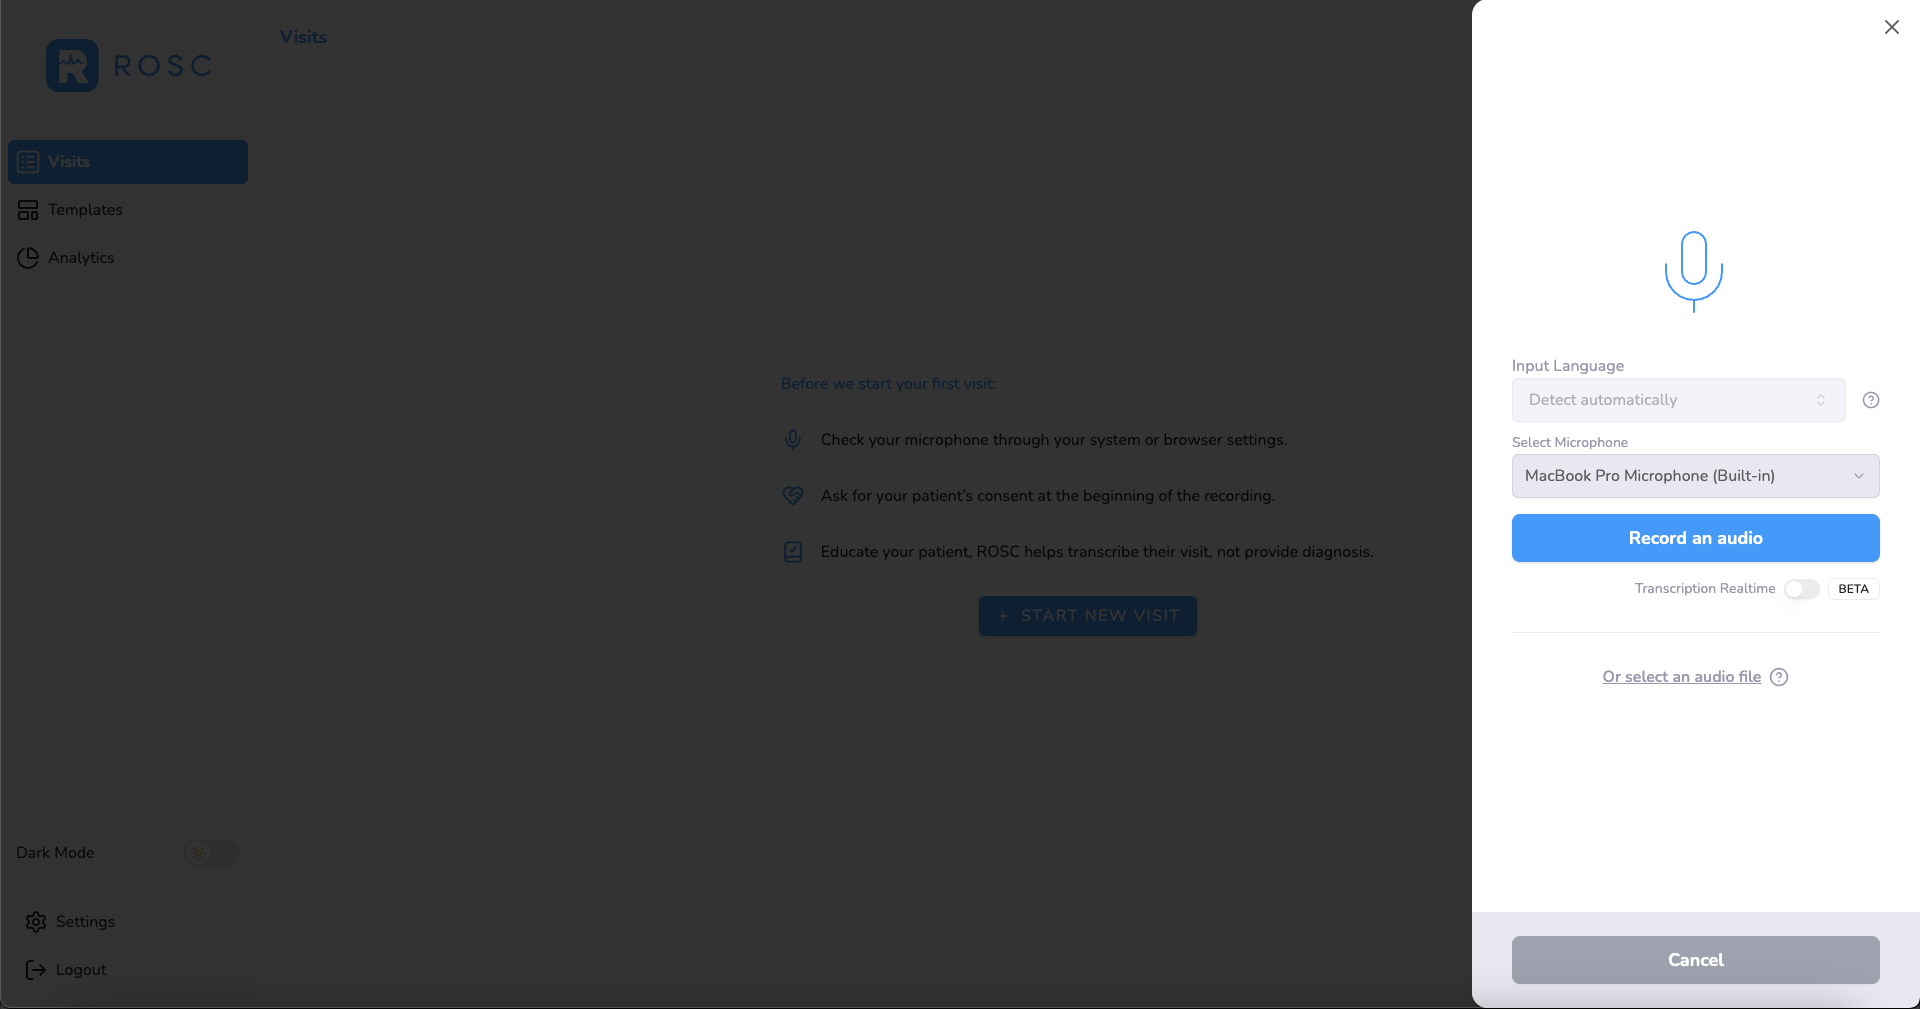
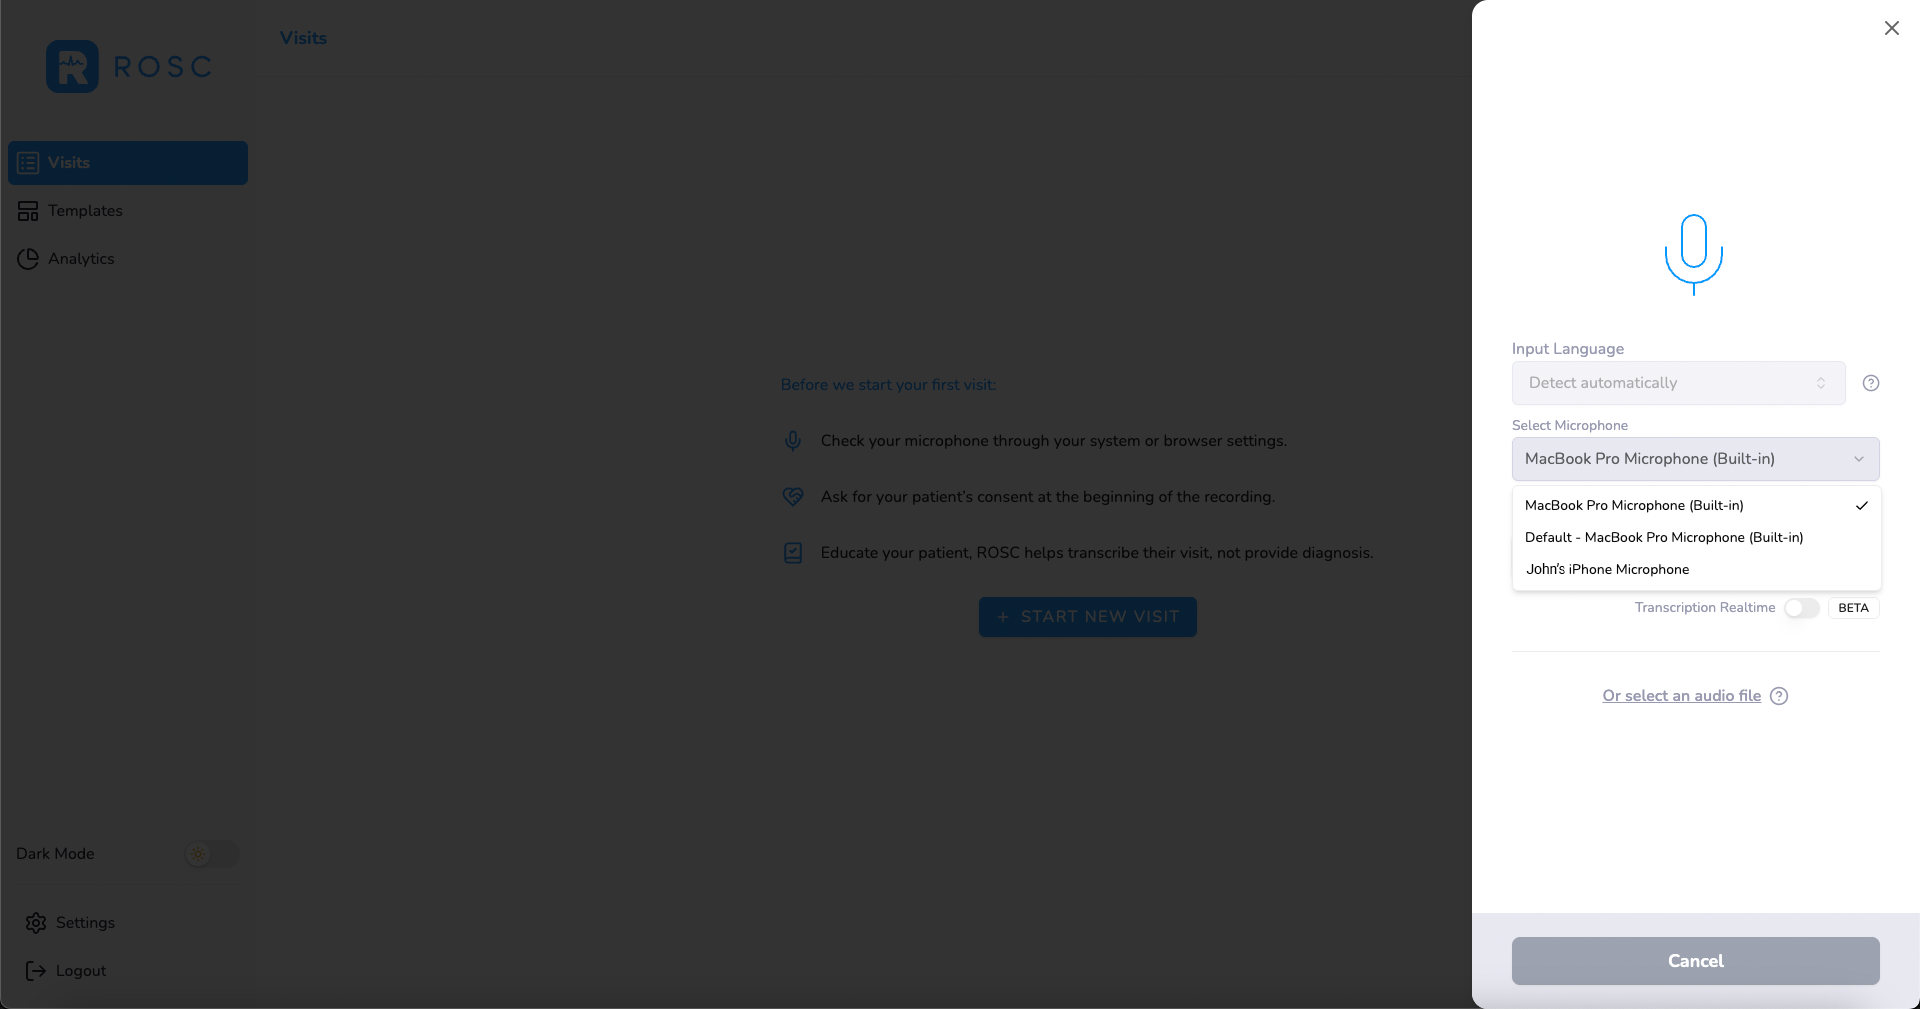
Select your microphone from the available input devices:
Recording Options:
- Mobile Recording: Use your smartphone as a microphone (must be on same WiFi network)
- "Or select an audio file": Click to upload pre-recorded files (M4A, MP3, WAV, WebM, MP4)
- Real-Time Transcription (Beta): Toggle for immediate transcription. Standard processing is more accurate for final documentation.
- 3
Start your patient consultation
Conduct your patient consultation as you normally would. ROSC's AI will capture the conversation in real-time without interrupting your workflow.

During Recording:
- Blue Bar with Waveform: The white waveform indicates that sound is being actively recorded
- Timer: Displays how long the recording has elapsed
- Pause/Resume Button: Toggles between pausing and resuming the recording if you need to skip certain parts of the consultation
- Stop and Save Button: Ends the recording and proceeds to the next step for processing
- Cancel Recording: Click the close button (top right) or Cancel button to discard the recording
- 4
Speak naturally - ROSC captures everything
There's no need to speak slowly or unnaturally. ROSC is designed to understand natural medical conversations and terminology.
- 5
Tap 'Stop' when consultation is complete
When your consultation is complete, click the 'Stop and Save' button. A modal will appear asking if you are finished recording:
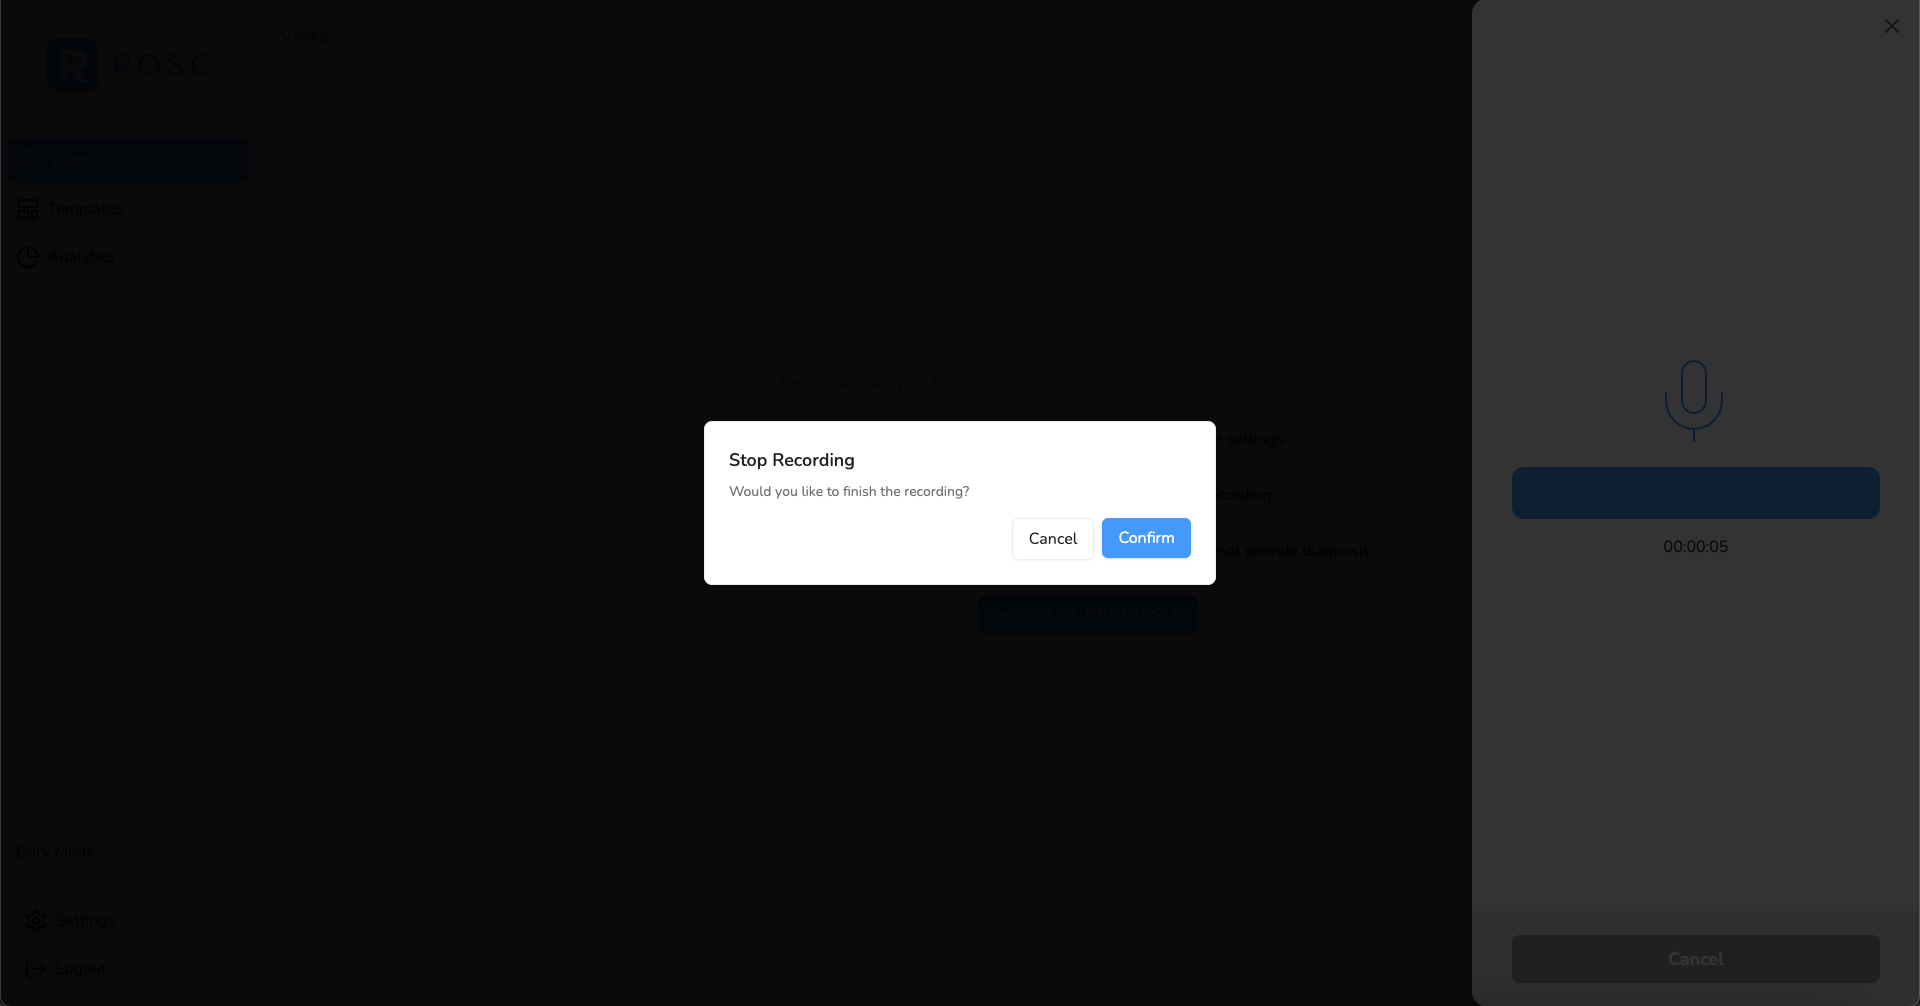
- Cancel: Returns you to continue recording
- Confirm: Saves the recording and proceeds to transcription options
After clicking confirm, the side menu will update showing your recording with options to replay it and configure transcription settings:
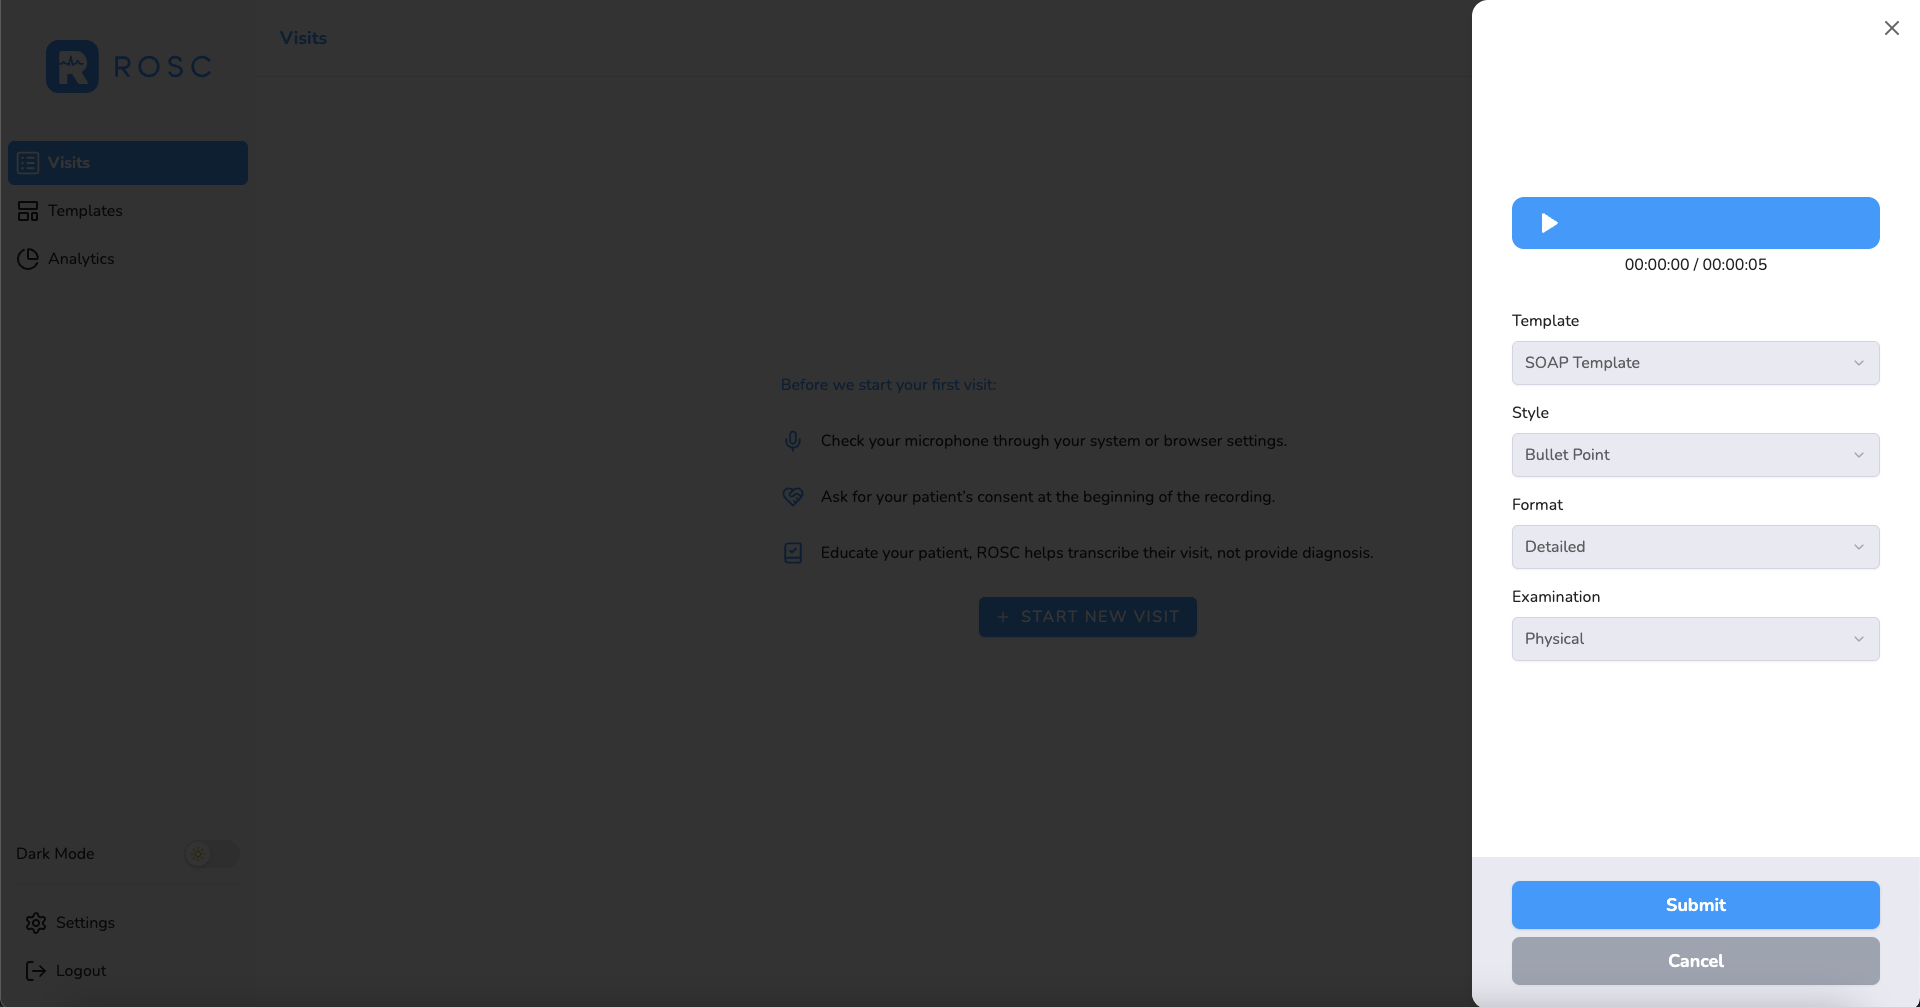
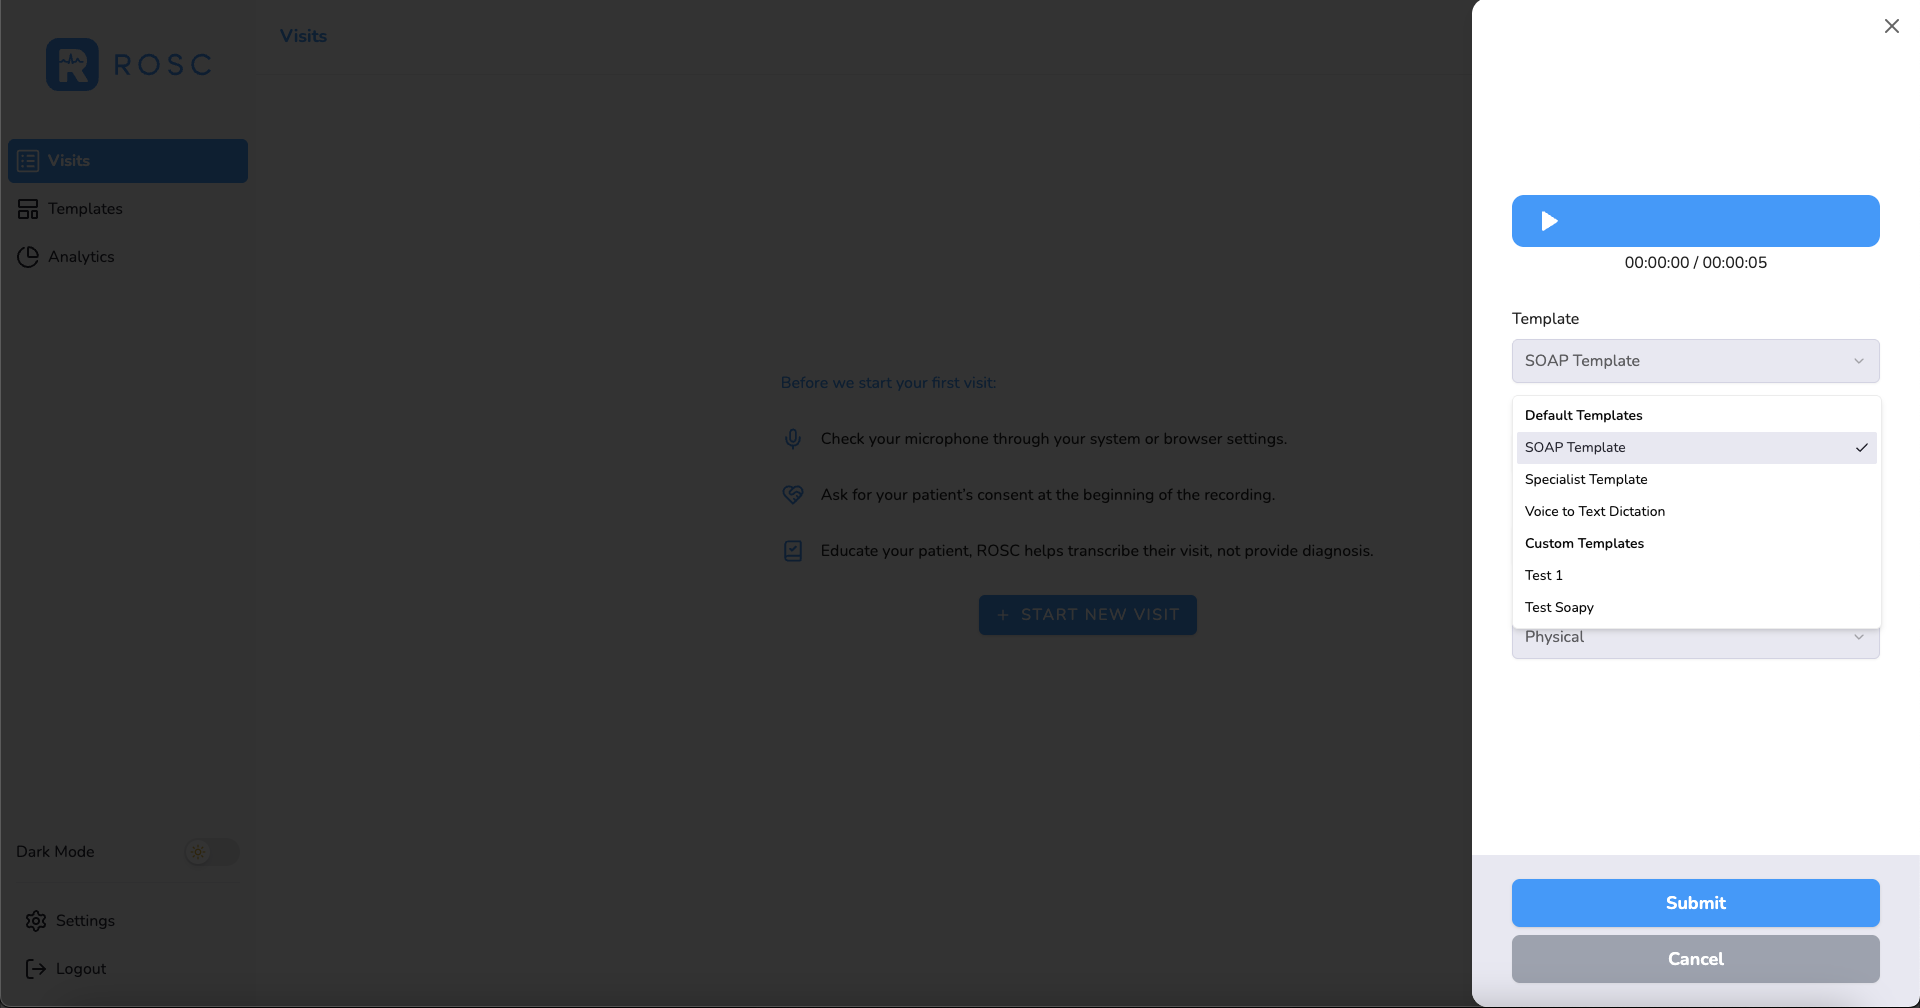
Select Template: Choose the template you would like to use for summarization. You can select from the standard SOAP template, specialist templates, or create your own custom template:
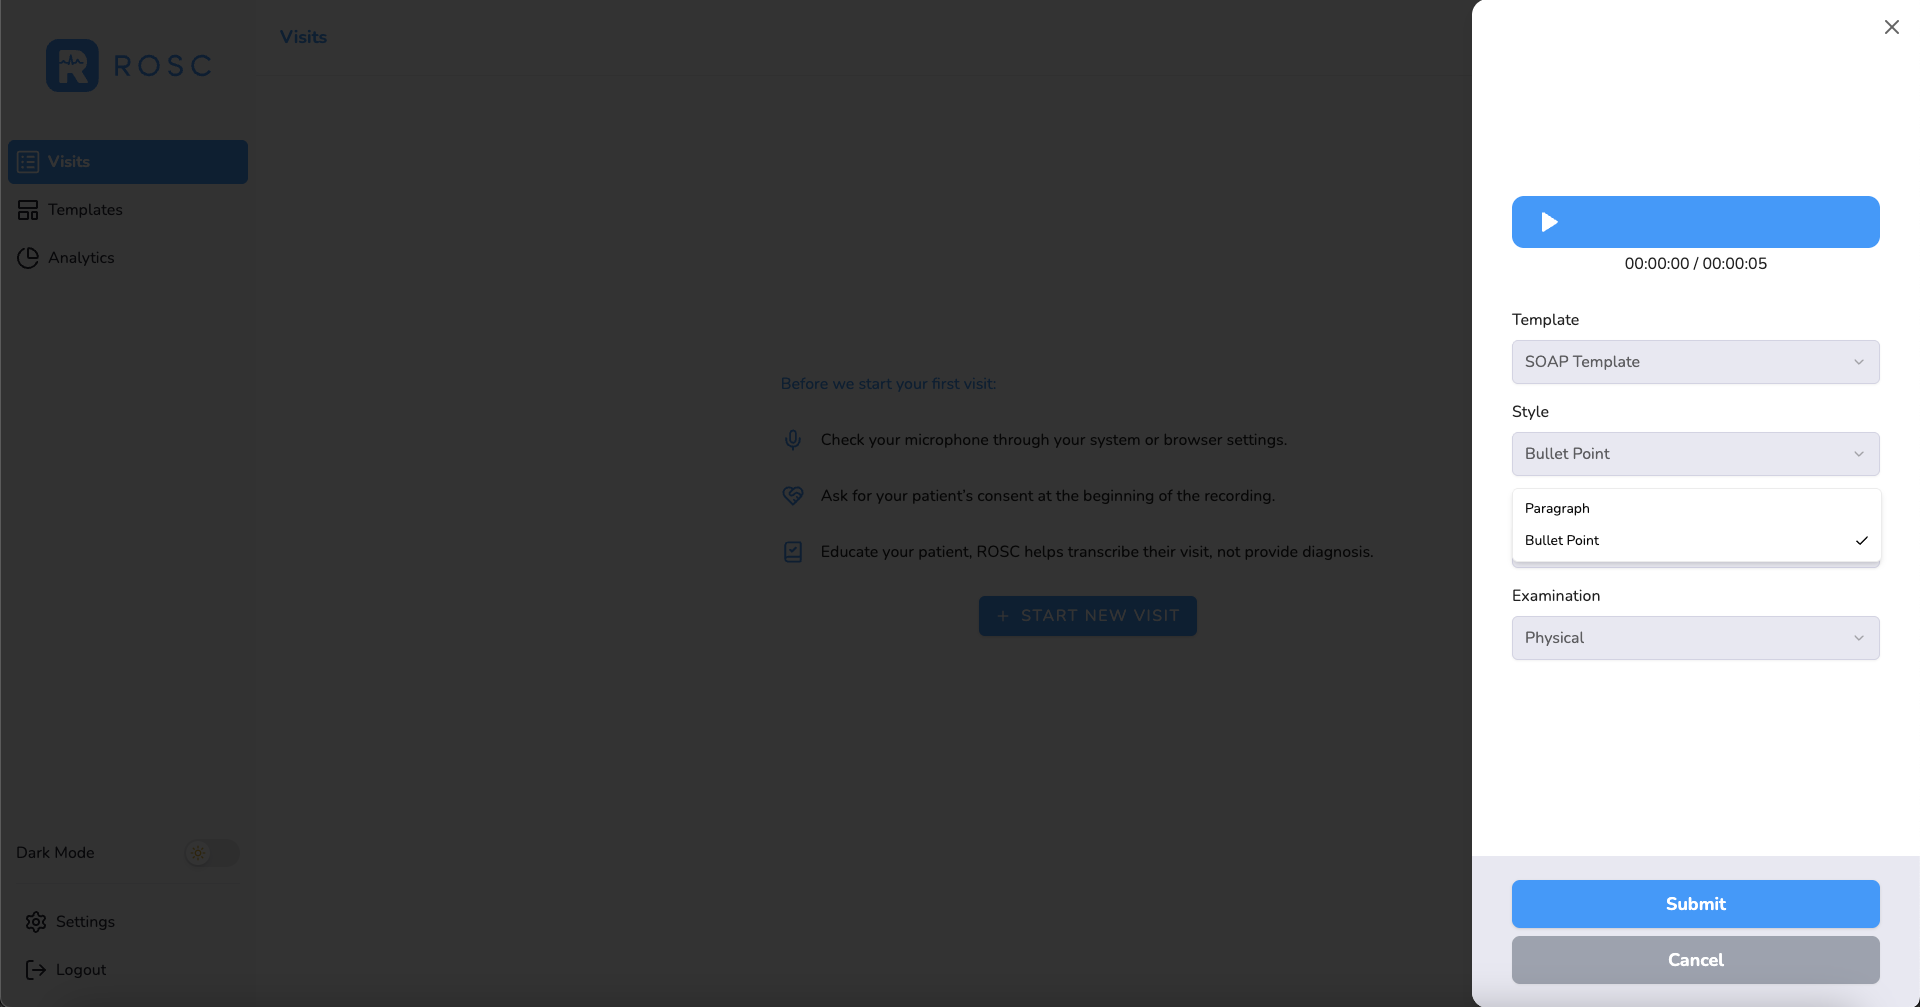
Select Style: Choose how you want the summarization to be presented - in bullet form or as a paragraph:
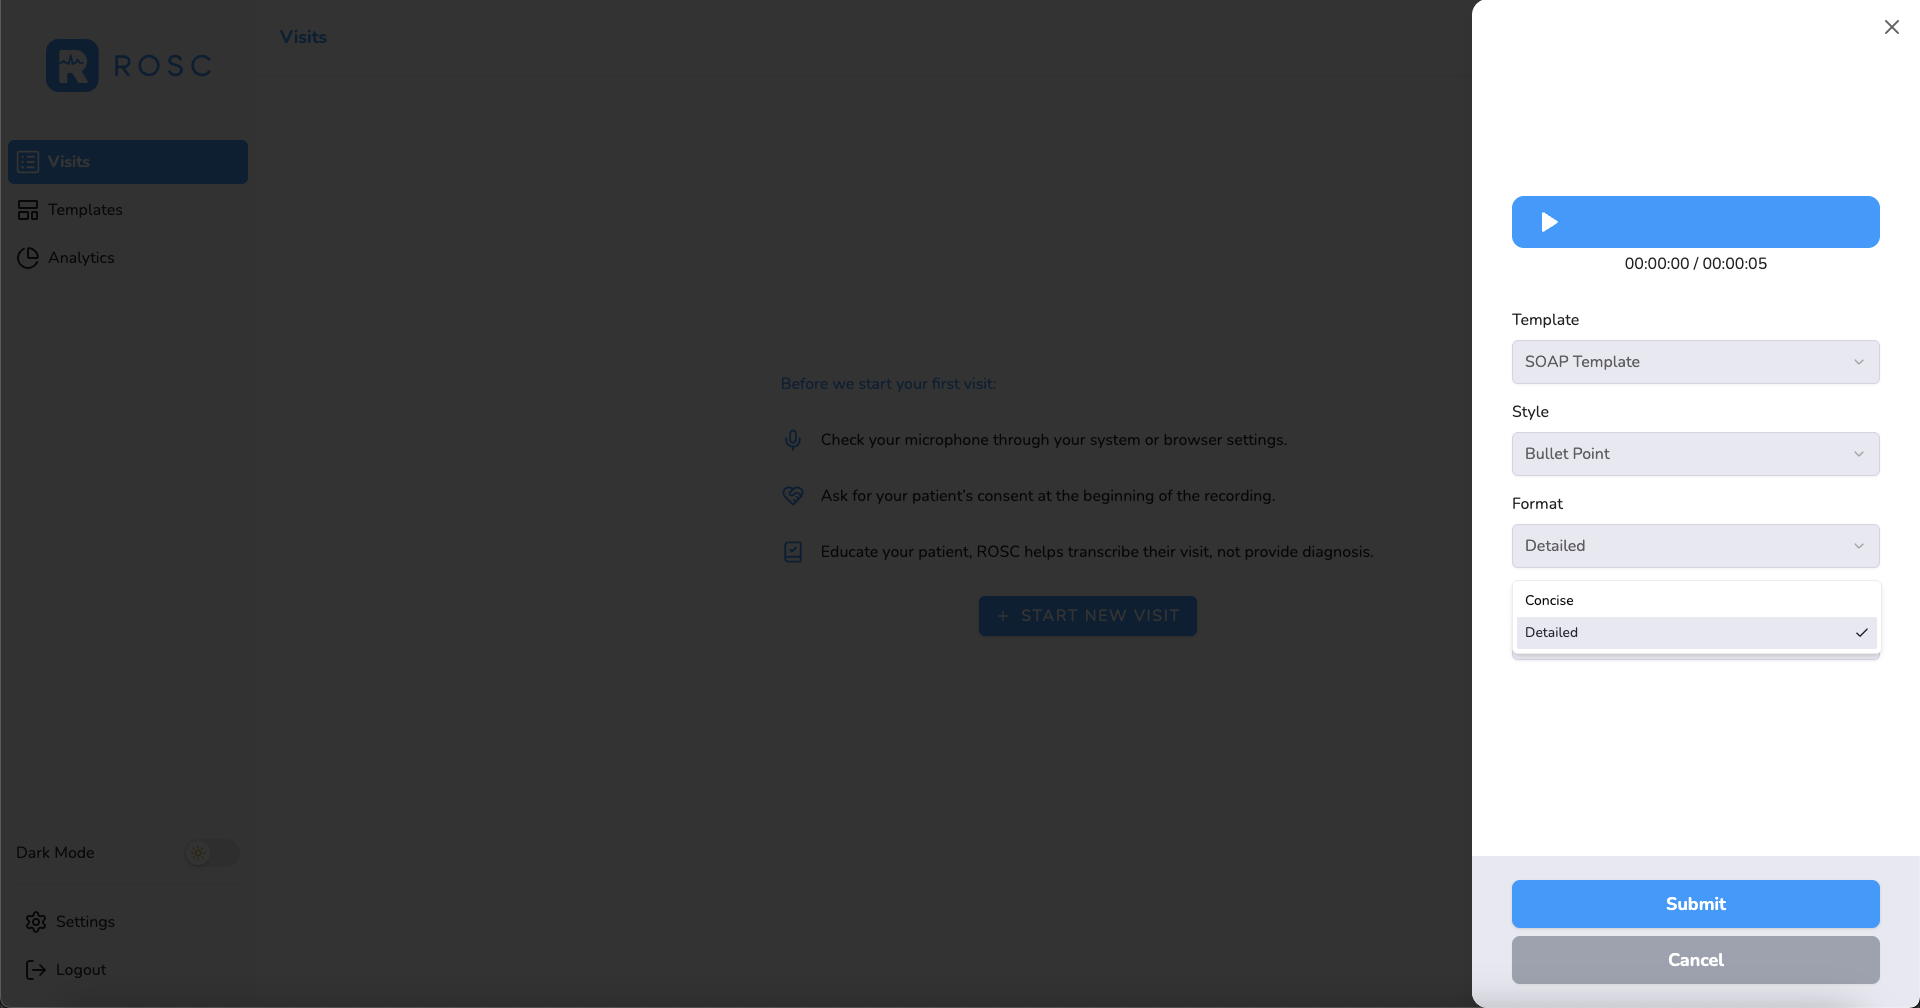
Select Format: Choose the level of detail - whether you want very detailed notes or concise summarizations:
Select Examination: Indicate whether this was a physical (in-person) or virtual (telehealth) examination:
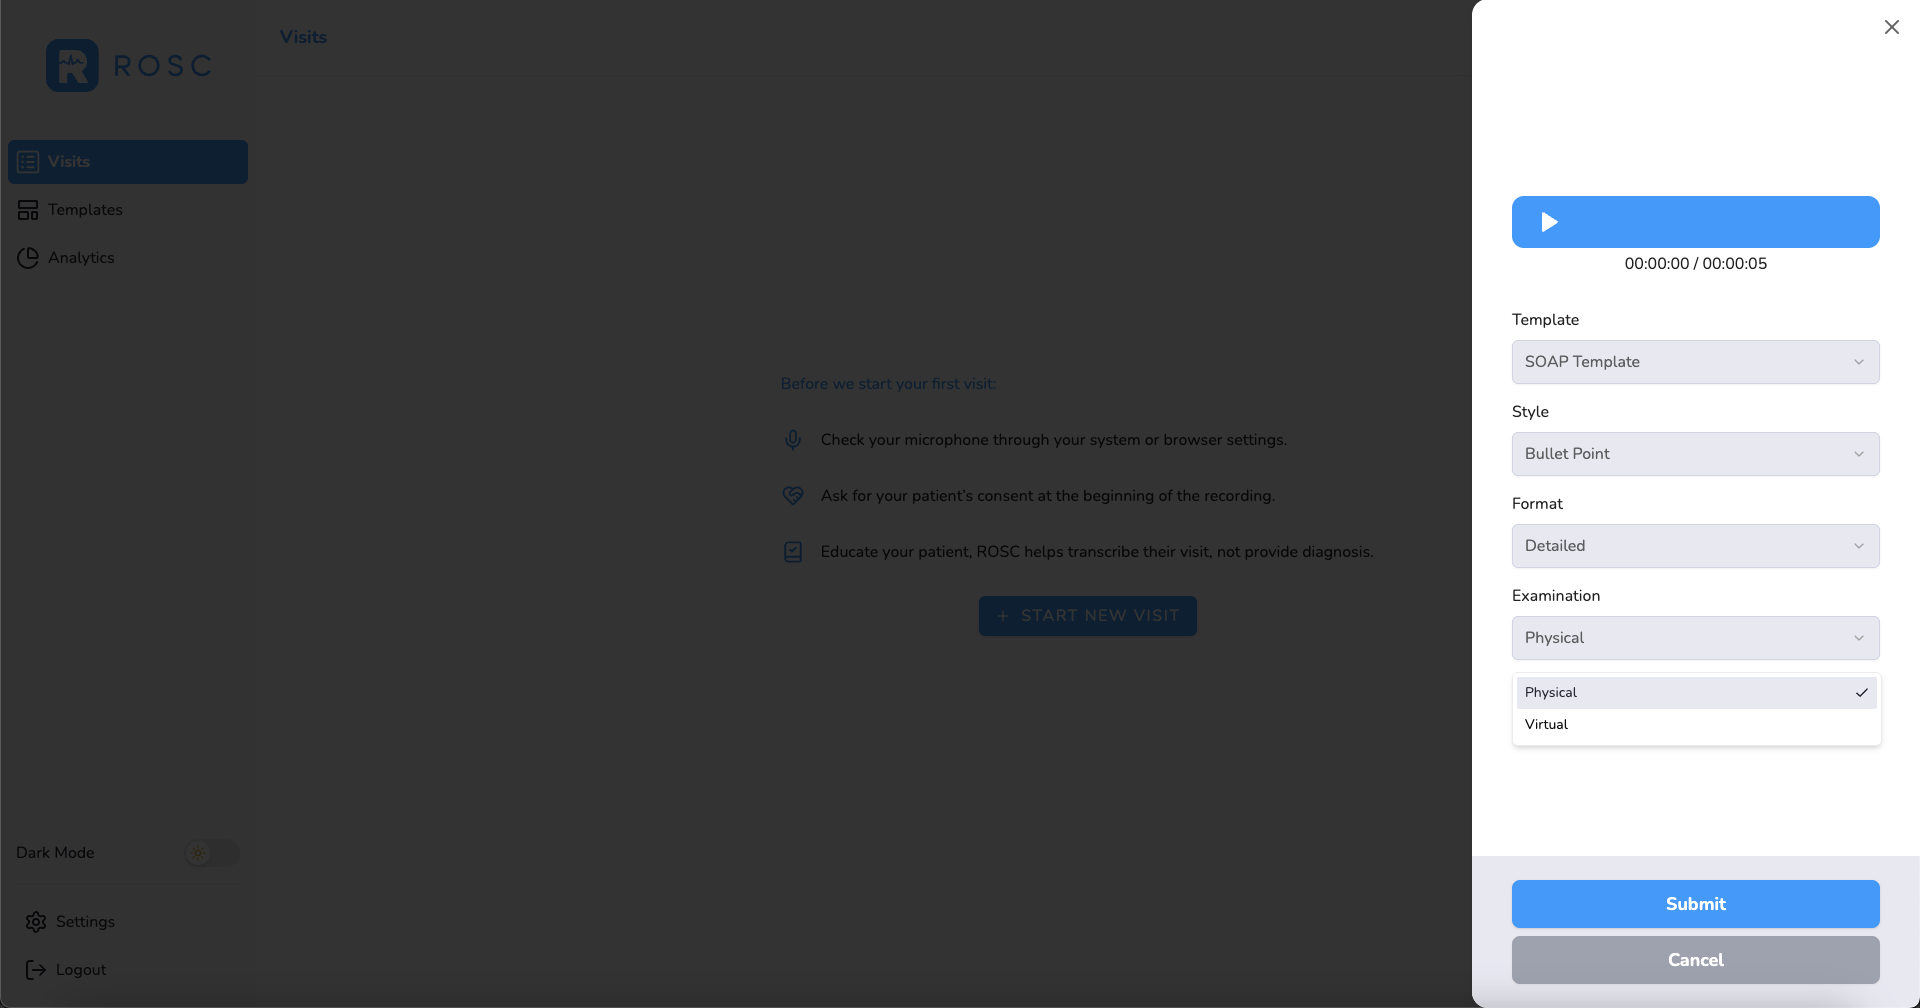
Once you've configured all your transcription options, click Submit. The app will upload your audio file to the cloud where it will be transcribed and summarized into a structured medical note.
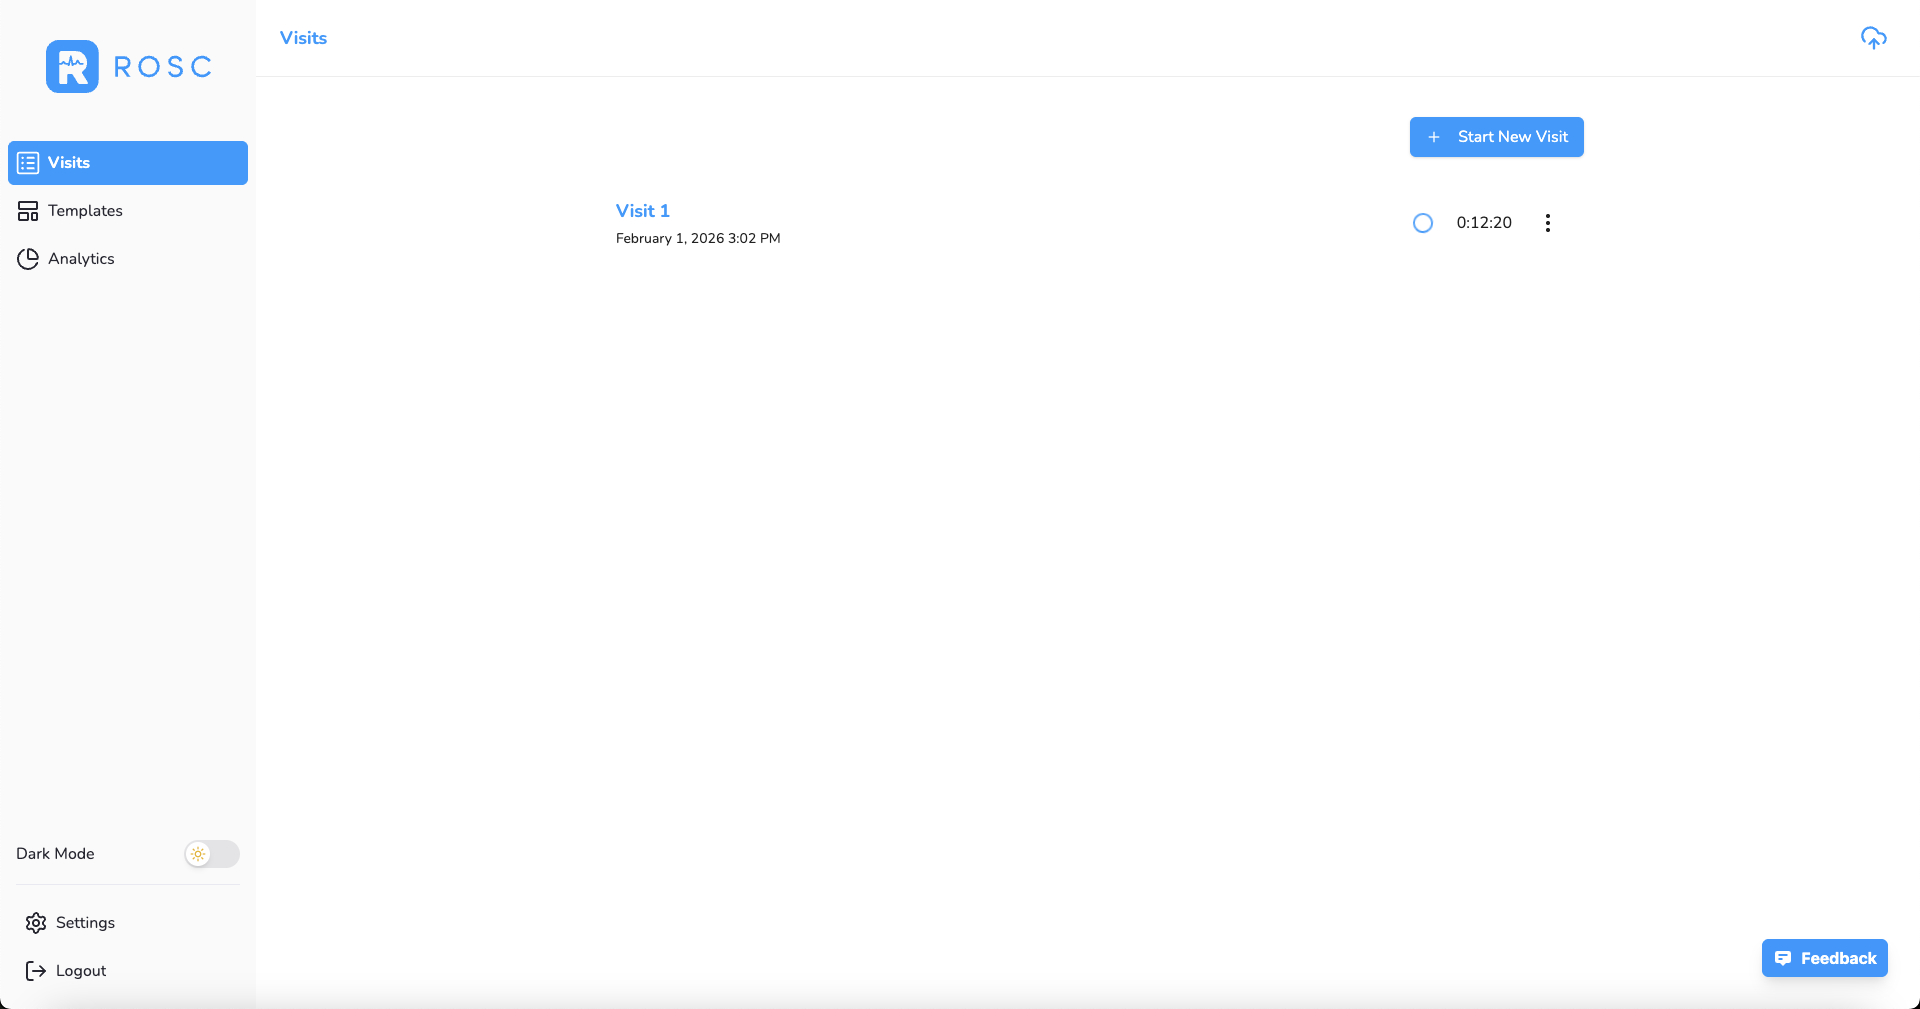
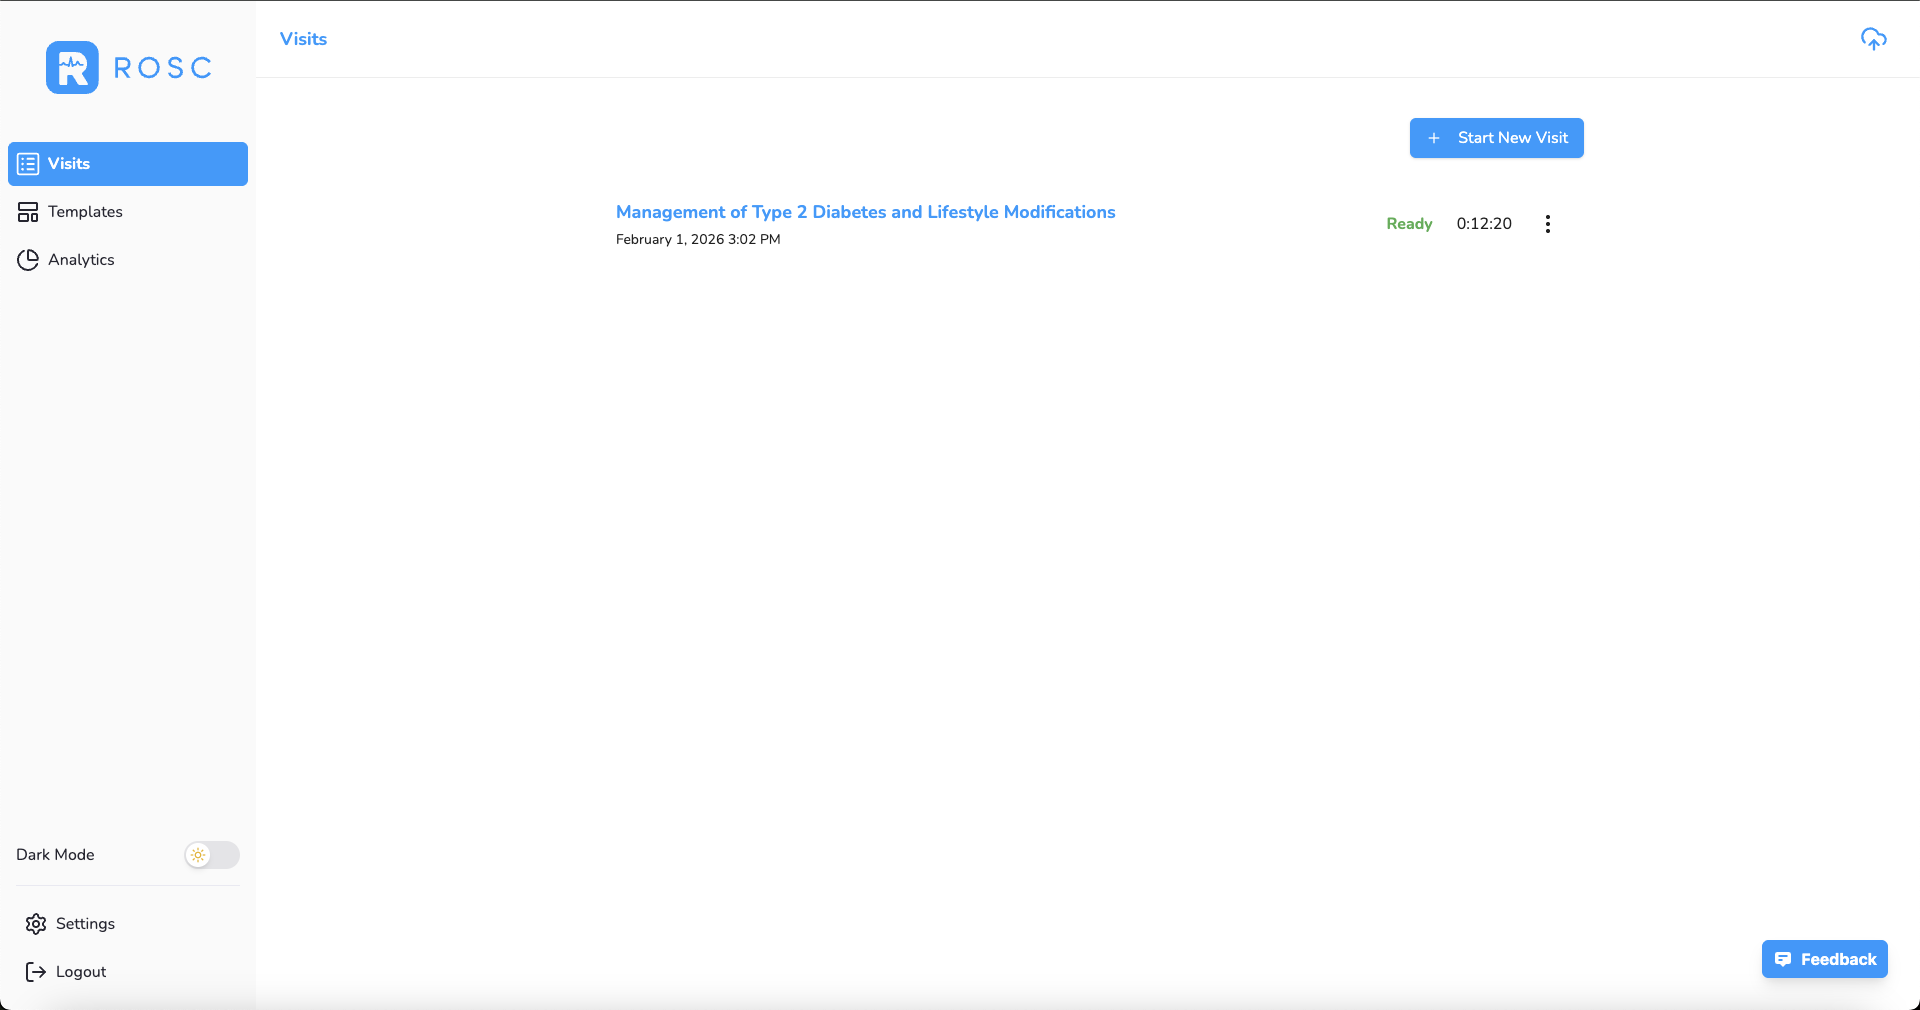
When processing is complete, the loading wheel changes to a ready indicator and the title updates to reflect the transcription status:
Processing Time: Most recordings are processed within 30-60 seconds, depending on length.
Pro Tips
- Position your device 1-2 feet away from both you and your patient
- Minimize background noise when possible (close doors, turn off TVs)
- Speak clearly but naturally - no need to change your conversation style
- The AI works best when you follow a structured consultation flow
What Happens Next?
Once your recording shows the ready state, you can click on it to review the transcription and AI-generated summary. In the next tutorial, you'll learn how to review, edit, and finalize these notes before adding them to your EMR.